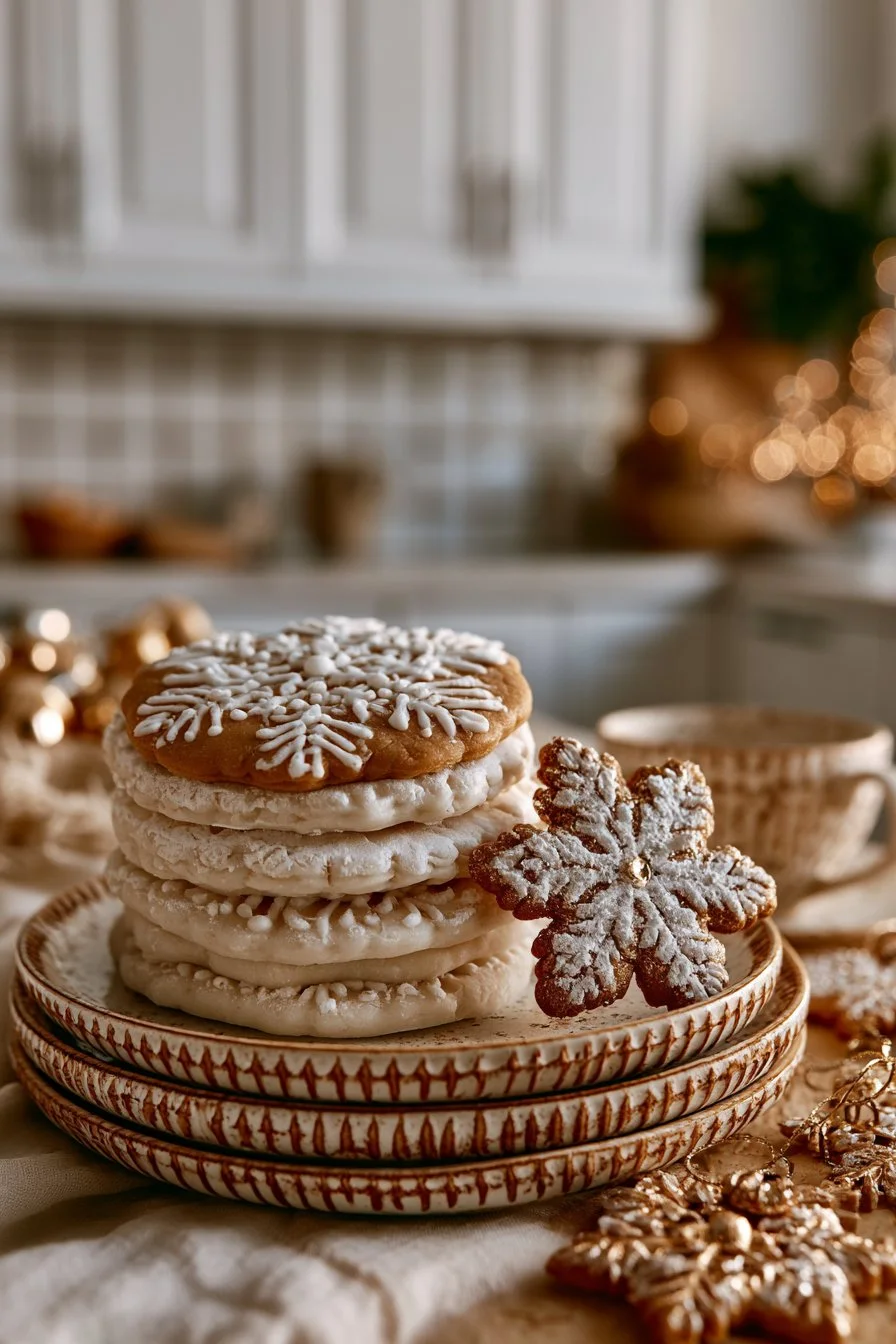
Making ornaments can bring a sense of comfort, especially during the holiday season. There’s something truly special about crafting decorations at home that fill the air with warmth and nostalgia. This Classic Homemade Ornament Salt Dough Recipe is perfect for family gatherings, or quiet afternoons spent with a loved one. It encourages creativity and offers a delightful opportunity to bond over shared crafting moments.
The ingredients for this simple recipe are everyday staples you probably already have in your kitchen: 2 cups of all-purpose flour, 1 cup of salt, and 2 cups of water. If you want to add a personal touch, you have the option to incorporate food coloring or essential oils for fragrance, providing not just visual appeal but perhaps a comforting scent, too. Simple yet versatile, this recipe can be customized to fit your personal style or the occasion.
With just a few easy steps, you can create beautiful ornaments. First, you’ll mix flour and salt, then gradually add water to form a smooth dough. Kneading, rolling, cutting, and baking will follow, all while enjoying the process. Don’t worry if it seems too complicated; this method is straightforward and perfect for all skill levels.
These handmade ornaments are ideal for chilly nights when you want to gather the family around the table, leaving behind the winter blues. Whether it’s a rainy afternoon or a cozy evening, this activity is sure to spark joy and creative expression.
Why You’ll Love This Classic Homemade Ornament Salt Dough Recipe
- Quick to Make: You can whip this up in no time, making it a hassle-free project.
- Simple Ingredients: With just three main ingredients, you have a no-fuss recipe.
- Creative Freedom: Personalize with colors and scents, making each ornament unique.
- Family Fun: A great way to spend time with loved ones or even teach kids basic crafting skills.
- Budget-Friendly: All ingredients are affordable and easy to find.
Main Ingredient Tips
The star ingredient in this recipe is all-purpose flour. When selecting your flour, opt for a good quality brand as it will impact the texture of your dough. Look for flour that is finely milled for the best results. If you have a choice between bleached and unbleached, either will work well, but unbleached has a more natural flavor and color. A tip for measuring is to spoon the flour into your measuring cup and level it off with a knife for the most accurate amount.
Options for Substitutions
- Replace all-purpose flour with whole wheat flour for a more rustic texture.
- Use sea salt instead of regular table salt for a coarser consistency.
- Swap water with unsweetened herbal tea for subtle fragrance and color.
- Add glitter to the dough for a sparkling finish.
- Integrate dried herbs like lavender for a lovely scent.
- Utilize natural food colors made from beet juice or spinach if you prefer to avoid artificial dyes.
Watch Out for These Mistakes
When creating your salt dough, there are common pitfalls to keep in mind. First, be cautious with your water: adding too much too quickly can make the dough overly sticky and difficult to handle. Always add water gradually while mixing to ensure the right consistency.
Another issue arises during the kneading stage. If the dough is not kneaded long enough, it may crack or break when rolled out. Aim for a smooth texture by kneading until you feel it’s even and pliable.
When rolling out the dough, remember to use a surface that is well-floured, preventing it from sticking. If you forget this step, you might find your dough tearing apart instead of rolling out cleanly.
Finally, during the baking process, pay attention to time and temperature. Baking at too high a temperature could darken the dough before it hardens. Stick to 200°F (93°C) and check periodically to ensure the ornaments are properly set.
What to Serve With Classic Homemade Ornament Salt Dough Recipe?
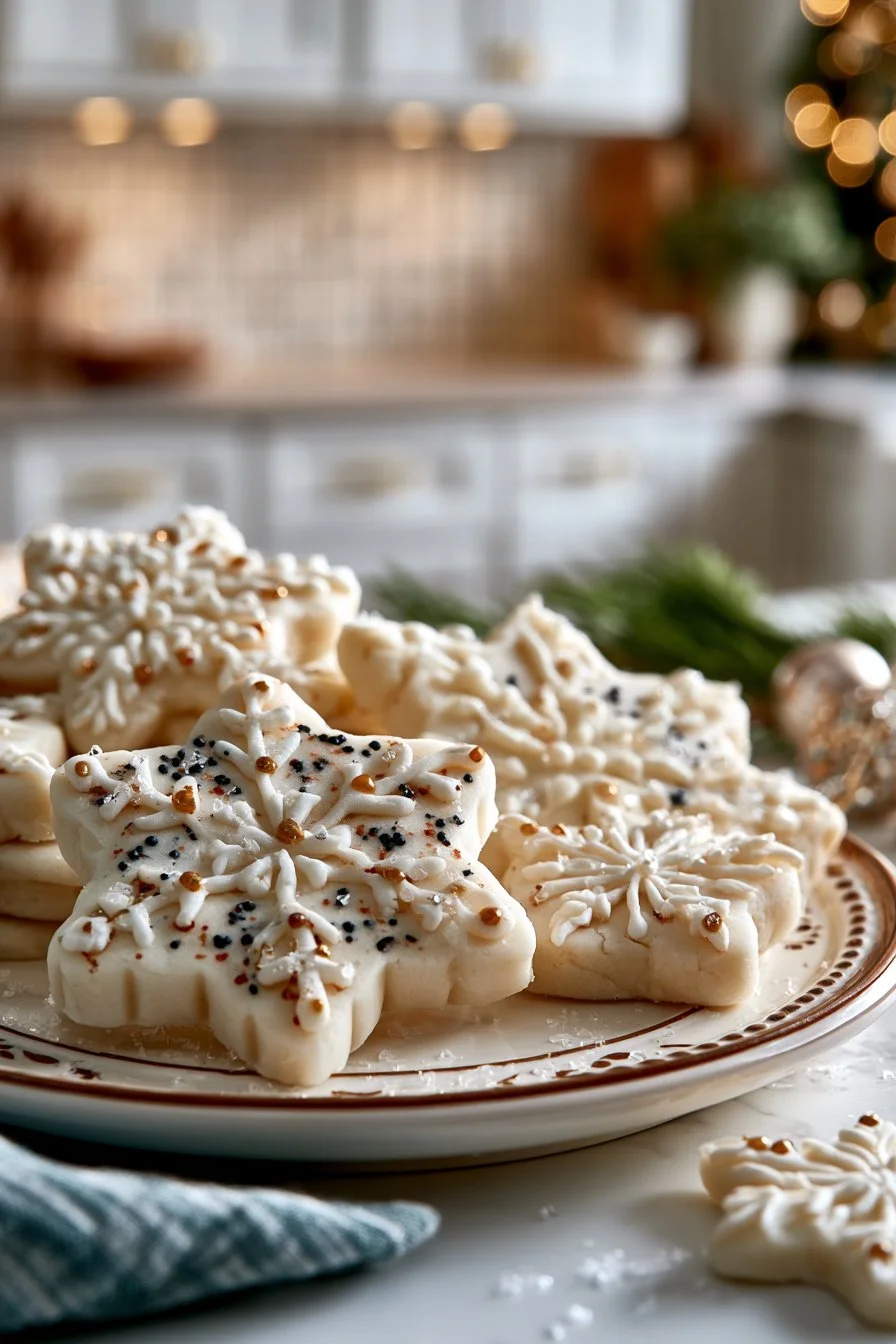
Although this recipe centers around creating beautiful ornaments, it pairs wonderfully with some festive treats. Think of cozy hot cocoa topped with fluffy marshmallows, or perhaps some delightful holiday cookies that can be enjoyed while crafting. For a more savory option, consider a warm bowl of creamy potato soup. These simple, comforting foods enhance the atmosphere while engaging in this creative project.
Storage Instructions
Store: Keep your finished ornaments in a cool, dry place. They can last for several months as long as they are not exposed to moisture.
Freeze: If you have leftover dough, you can freeze it for up to 3 months. Just wrap it tightly in plastic wrap and seal it in an airtight container.
Reheat: If the dough has been frozen, allow it to thaw in the refrigerator overnight before using it. You can gently knead the dough again to restore its pliability if needed.
Recipe Info
Preparation Time: 20 minutes
Cooking Time: 1-2 hours
Total Time: 1 hour and 20 minutes to 2 hours and 20 minutes
Level of Difficulty: Easy
Servings: This recipe makes numerous ornaments depending on the size of your cookie cutters.
Estimated Nutrition
Estimated nutrition for the whole recipe (without optional ingredients):
- Calories: 1,200 – 1,500
- Protein: 30 – 35 grams
- Fat: 5 – 10 grams
- Carbohydrates: 250 – 300 grams
Ingredients
- 2 cups all-purpose flour
- 1 cup salt
- 2 cups water
- Optional: food coloring or essential oils for fragrance
Step-by-Step Instructions
Step 1: Prepare Ingredients
In a large bowl, combine 2 cups of all-purpose flour and 1 cup of salt. Mix them thoroughly together. This will ensure that the salt is evenly distributed throughout the flour, which is essential for the consistency of your dough.
Step 2: Add Water Gradually
Gradually pour in 2 cups of water into the flour and salt mixture while stirring. This part is crucial, as adding the water too quickly could result in a sticky mixture. Stir until a dough begins to form.
Step 3: Knead the Dough
Once a dough has formed, turn it out onto a flat surface dusted with flour. Knead the dough for about five minutes until it feels smooth and elastic. This step is vital for achieving the right texture for your ornaments.
Step 4: Roll Out the Dough
With a rolling pin, roll out the dough to about 1/4-inch thickness. Make sure to keep the surface well-floured to prevent sticking. A consistent thickness on the dough will ensure even baking for your ornaments.
Step 5: Cut Out Shapes
Use cookie cutters to cut out shapes from the rolled-out dough. You can create traditional holiday shapes like stars and trees or simply make fun designs. Don’t forget to use a straw to daintily poke holes in the top of each ornament for hanging later.
Step 6: Bake the Ornaments
Preheat your oven to 200°F (93°C). Place your cut-out ornaments on a baking sheet lined with parchment paper. Bake them for 1-2 hours until they are completely hardened. Make sure to check on them periodically to avoid overbaking.
Step 7: Cool and Decorate
After baking, let the ornaments cool completely on a wire rack. Once cool, you can let your creativity shine with paints, glitter, or other decorations to make each piece unique.
In conclusion, this Classic Homemade Ornament Salt Dough Recipe is a beautiful way to spend time with family or indulge in some relaxing crafts on your own. With easy ingredients and simple steps, you’ll create lasting memories and delightful decorations. I invite you to try this recipe today, and if you do, please share your feedback! Explore our other crafting posts for more creative ideas to make your holidays even brighter.
Print
Classic Homemade Ornament Salt Dough
- Prep Time: 20 minutes
- Cook Time: 120 minutes
- Total Time: 140 minutes
- Yield: Numerous ornaments depending on size
- Category: Crafts
- Method: Baking
- Cuisine: N/A
- Diet: N/A
Description
Create beautiful ornaments with this easy and versatile salt dough recipe, perfect for family crafting moments during the holiday season.
Ingredients
- 2 cups all-purpose flour
- 1 cup salt
- 2 cups water
- Optional: food coloring or essential oils for fragrance
Instructions
- Prepare the ingredients by combining flour and salt in a large bowl.
- Add water gradually to the flour and salt mixture while stirring.
- Knead the dough on a floured surface for about five minutes until smooth.
- Roll out the dough to about 1/4-inch thickness using a rolling pin.
- Cut out shapes using cookie cutters and poke holes for hanging.
- Bake the ornaments at 200°F (93°C) for 1-2 hours until hardened.
- Cool on a wire rack and decorate as desired.
Notes
Store finished ornaments in a cool, dry place; they can last for months if kept dry. Leftover dough can be frozen for up to 3 months.
Nutrition
- Serving Size: 1 ornament
- Calories: 1200
- Sugar: 0g
- Sodium: 2320mg
- Fat: 7g
- Saturated Fat: 1g
- Unsaturated Fat: 6g
- Trans Fat: 0g
- Carbohydrates: 250g
- Fiber: 0g
- Protein: 30g
- Cholesterol: 0mg