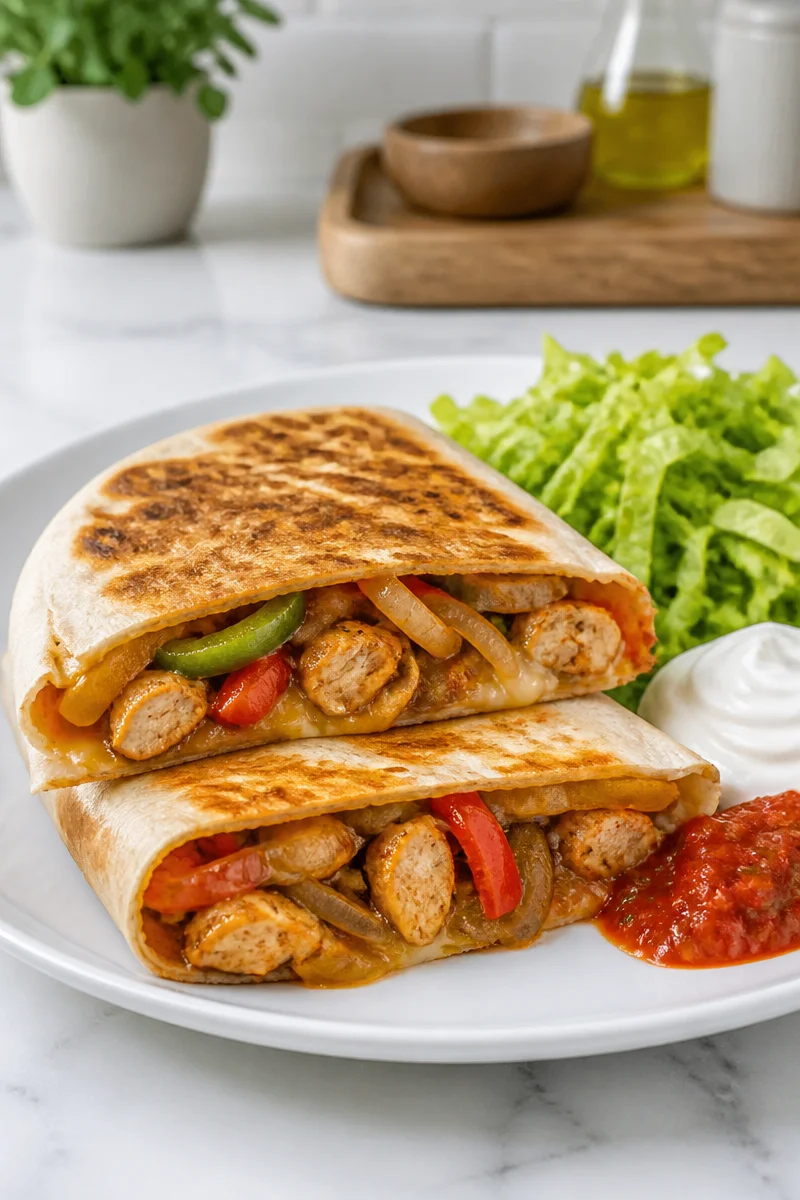
There’s something wonderfully comforting about a warm wrap filled to the brim with savory ingredients. The Sheet Pan Chicken Fajita Crunchwrap is one of those dishes that feels like a warm hug after a long day. It’s not just a meal; it’s an experience that brings family and friends together. Whipping up this recipe might just become your new go-to, especially with its ease and deliciousness.
This dish combines juicy sliced chicken breast, colorful bell peppers, and flavorful onions, tossed in a simple yet delightful mixture of olive oil and taco seasoning. Each bite bursts with a harmonious blend of flavors that’s truly irresistible. And let’s not forget the melty shredded cheese, fresh lettuce, creamy sour cream, and zesty salsa that elevate the wrap to a whole new level of deliciousness. It’s a meal that hits all the right notes—savory, cheesy, and satisfying.
Cooking this delightful crunchwrap is a breeze, making it an ideal recipe for any home cook, including our more experienced friends in the kitchen. Just preheat your oven to 400°F (200°C), toss your fresh ingredients on a baking sheet, and bake for just about 20-25 minutes. Once your chicken is cooked through, warm the tortillas, assemble your crunchwrap, and bake it again until golden and crispy. In no time, you’ll have a scrumptious meal ready to enjoy.
This dish is perfectly suited for various occasions. Whether you’re looking for a cozy dinner on a chilly night or bringing something special to a potluck gathering, the Sheet Pan Chicken Fajita Crunchwrap is sure to impress.
Why You’ll Love This Sheet Pan Chicken Fajita Crunchwrap
- Quick and Easy: With just a few simple steps, you can have a warm and delicious meal that doesn’t require hours in the kitchen.
- Simple Ingredients: Most items can be found in your pantry, making it a convenient option for a weeknight dinner.
- Comfort Food: This wrap is the ultimate comfort food, satisfying both hunger and cravings for something warm and hearty.
- Family-Friendly: It’s a hit with both kids and adults, making mealtime enjoyable for the entire family.
- Versatile: You can customize it to your liking, allowing for endless flavor variations and substitutions.
Chicken Tips
The star of this dish is the chicken breast. When selecting chicken, go for fresh, high-quality options. Look for breasts that are plump and pink, without any dark spots or bruises. If you choose frozen chicken, make sure to thaw it completely before cooking for even results. Slice it evenly to ensure that it cooks uniformly, creating juicy pieces with every bite.
Options for Substitutions
- Protein Variations: Swap chicken for ground turkey, beef, or even beans for a vegetarian option.
- Different Vegetables: Add other veggies like corn, zucchini, or spinach to pack in more nutrients and flavors.
- Tortilla Alternatives: Use whole wheat or corn tortillas if you prefer a healthier option.
- Dairy-Free Cheese: Use plant-based cheese alternatives if you’re avoiding dairy.
- Spice Level: Adjust the amount of taco seasoning or include jalapeños for an extra kick.
- Sour Cream Swap: Replace sour cream with Greek yogurt for a healthier dairy option.
Watch Out for These Mistakes
Many cooks face common pitfalls when making the perfect crunchwrap. One common mistake is overcooking the chicken. Make sure to monitor the baking time and check that the chicken reaches an internal temperature of 165°F (75°C). Overcooked chicken can become dry and less appealing.
Another mistake is not seasoning enough. While taco seasoning does provide a good flavor base, feel free to add extra spices like garlic powder, cumin, or chili powder to enhance the flavor. Adding ingredients too early, particularly fresh produce like lettuce, can lead to soggy tortillas and an unappetizing texture. It’s best to assemble the wrap just before serving to retain freshness.
Lastly, make sure you wrap securely. If your wraps are not tightly sealed, the fillings might spill out during the baking process, leaving you with a messy crunchwrap. Take your time to fold in the sides properly and roll it up tightly.
What to Serve With Sheet Pan Chicken Fajita Crunchwrap?
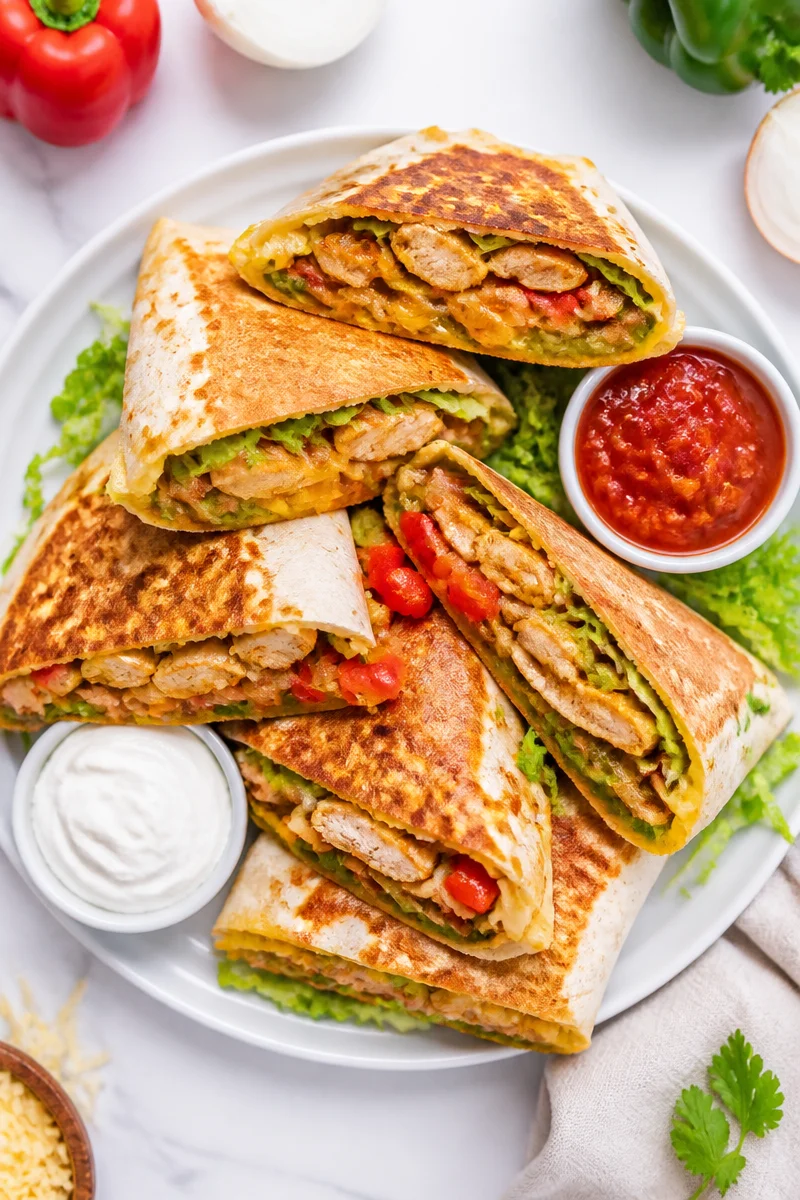
This dish pairs wonderfully with a few simple side options. Consider serving it alongside a fresh garden salad, consisting of mixed greens, cherry tomatoes, and a light vinaigrette. A bowl of black beans or refried beans makes for a delicious complement, adding protein and flavor. Additionally, some seasoned rice or quinoa can complete the meal, providing fiber and texture.
Storage Instructions
Store: Refrigerate any leftovers in an airtight container for up to 3 days.
Freeze: You can freeze the assembled wraps before baking for up to 2 months. Just be sure to wrap them tightly in plastic wrap and aluminum foil.
Reheat: For best results, reheat in a skillet over medium heat, flipping occasionally, until heated through. Alternatively, you can use the microwave, but be mindful that this might make the wrap softer than when baked.
Recipe Info
- Preparation Time: 10 minutes
- Cooking Time: 25-35 minutes
- Total Time: 35-45 minutes
- Level of Difficulty: Easy
- Servings: 4
Estimated Nutrition
Estimated nutrition for the whole recipe (without optional ingredients):
- Calories: 1,200 – 1,400 calories
- Protein: 90 – 100 grams
- Fat: 50 – 60 grams
- Carbohydrates: 100 – 120 grams
Ingredients
- 1 pound chicken breast, sliced
- 1 bell pepper, sliced
- 1 onion, sliced
- 2 tablespoons olive oil
- 1 packet taco seasoning
- 4 large flour tortillas
- 1 cup shredded cheese
- Sour cream, for serving
- Salsa, for serving
- Lettuce, for serving
Step-by-Step Instructions
Step 1: Preheat Oven and Prep Pan
Begin by preheating your oven to 400°F (200°C). This ensures that your crunchwrap cooks evenly. Line a baking sheet with parchment paper for easy cleanup.
Step 2: Prepare the Chicken and Vegetables
On the prepared baking sheet, toss together the sliced chicken, bell pepper, and onion. Drizzle the mixture with olive oil and sprinkle with the taco seasoning. Mix until everything is well-coated.
Step 3: Bake the Chicken Mixture
Place the baking sheet in the preheated oven and bake for 20-25 minutes or until the chicken is thoroughly cooked and no longer pink in the center. Remember to stir halfway for even cooking.
Step 4: Warm the Tortillas
While the chicken and vegetables are baking, warm the flour tortillas in a skillet over medium heat for about 1-2 minutes on each side until they become soft and pliable.
Step 5: Assemble the Wraps
Once the chicken mixture is cooked, it’s time to assemble your crunchwrap. Layer some of the chicken mixture in the center of each tortilla. Add shredded cheese, lettuce, sour cream, and salsa according to your preference.
Step 6: Roll Up the Wraps
Carefully fold in the sides of the tortilla and then roll it up tightly. Make sure the seam side is down to avoid unrolling during the next baking stage.
Step 7: Bake the Wrapped Crunchwraps
Place the wrapped crunchwraps back onto the baking sheet, seam side down. Bake for an additional 5-10 minutes, or until they are golden brown and crispy.
Step 8: Serve Warm
Once finished, remove the crunchwraps from the oven and let them cool for a few minutes before serving. Enjoy them warm with additional sour cream and salsa on the side.
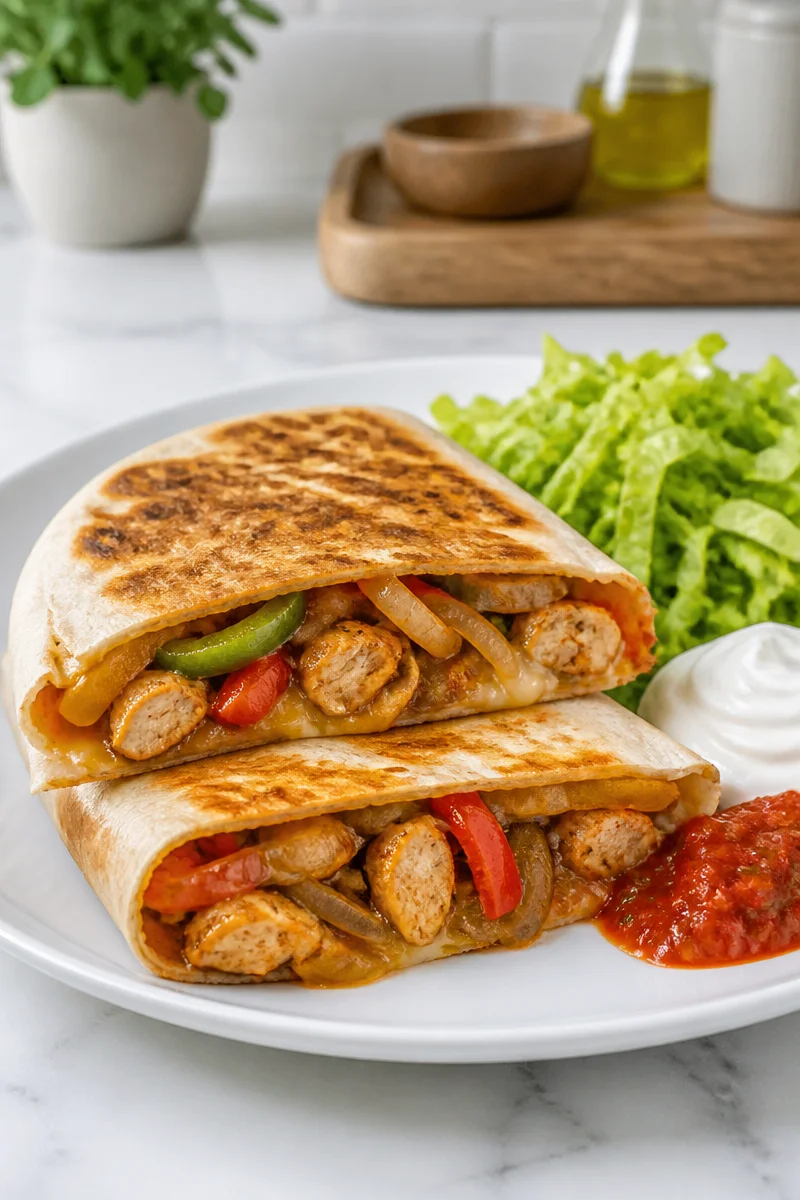
This Sheet Pan Chicken Fajita Crunchwrap is an easy-to-make dish that can steal the spotlight at any meal. Its symphony of flavors and textures make it a delightful and memorable experience for you and your family. I encourage you to give this recipe a try and feel free to explore different variations. I would love to hear how it goes! Share your experiences and enjoy your culinary journey.
Print
Sheet Pan Chicken Fajita Crunchwrap
- Prep Time: 10 minutes
- Cook Time: 25 minutes
- Total Time: 35 minutes
- Yield: 4 servings 1x
- Category: Main Course
- Method: Baking
- Cuisine: Mexican
- Diet: Non-Vegetarian
Description
A warm wrap filled with juicy chicken, colorful bell peppers, and melty cheese, perfect for family dinners.
Ingredients
- 1 pound chicken breast, sliced
- 1 bell pepper, sliced
- 1 onion, sliced
- 2 tablespoons olive oil
- 1 packet taco seasoning
- 4 large flour tortillas
- 1 cup shredded cheese
- Sour cream, for serving
- Salsa, for serving
- Lettuce, for serving
Instructions
- Preheat your oven to 400°F (200°C) and line a baking sheet with parchment paper.
- Toss together the sliced chicken, bell pepper, and onion on the prepared baking sheet.
- Drizzle with olive oil and sprinkle with taco seasoning, mixing until well-coated.
- Bake for 20-25 minutes or until the chicken is thoroughly cooked.
- Warm the flour tortillas in a skillet over medium heat for 1-2 minutes on each side.
- Layer the chicken mixture in each tortilla, adding cheese, lettuce, sour cream, and salsa.
- Fold in the sides of the tortilla and roll it up tightly.
- Bake the wrapped crunchwraps on the baking sheet for an additional 5-10 minutes until golden brown and crispy.
- Serve warm with additional sour cream and salsa on the side.
Notes
Feel free to customize your crunchwrap with different proteins, veggies, or cheese alternatives.
Nutrition
- Serving Size: 1 wrap
- Calories: 350
- Sugar: 2g
- Sodium: 600mg
- Fat: 18g
- Saturated Fat: 7g
- Unsaturated Fat: 9g
- Trans Fat: 0g
- Carbohydrates: 32g
- Fiber: 3g
- Protein: 20g
- Cholesterol: 75mg